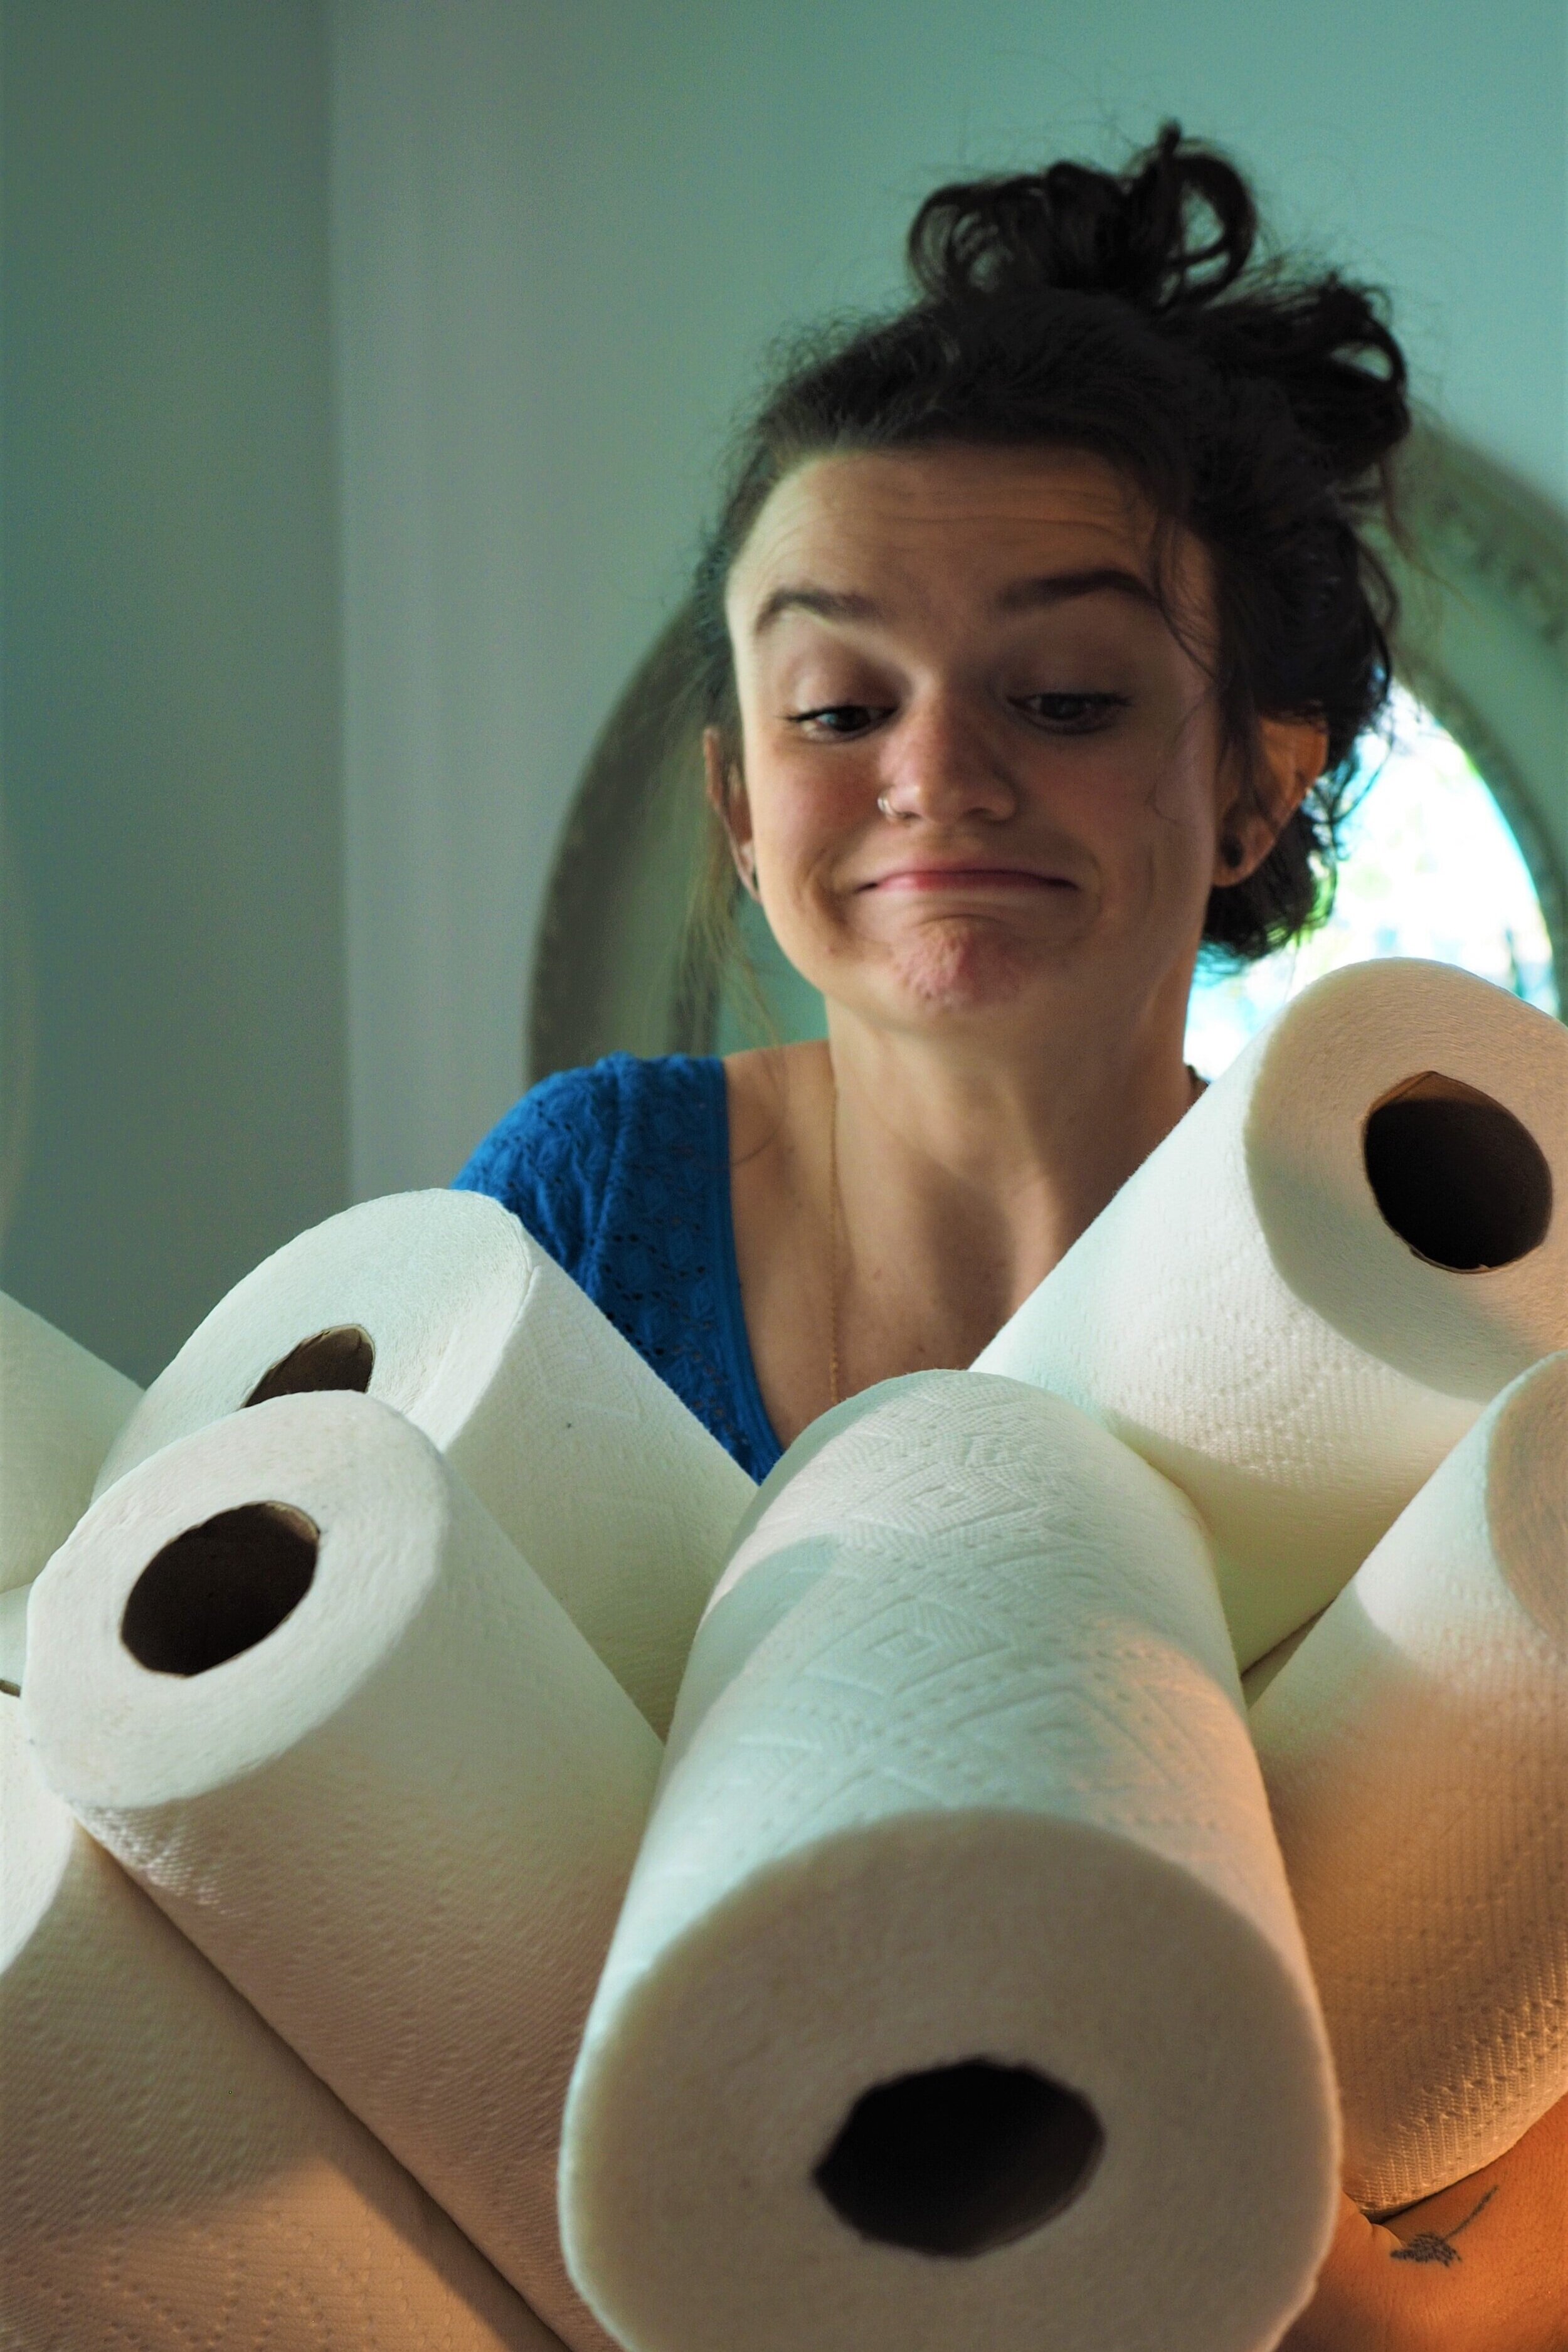
Goodbye paper towels, hello zero-waste alternative!
A DIY tutorial for reusable “Unpaper” towels.
Almost everyone uses paper towels! They’re so handy and absorbent and always right there when you need them. But, have you ever stopped to wonder what environmental impact paper towels have? When you look at the entire lifecycle of a piece of paper towel there are many behind-the-scenes inputs or processes that we wouldn’t normally consider. For example harvesting trees, transporting raw materials or finished products, chemical inputs (from forestry or pulp mill), fresh water usage, water treatment, transport to stores/consumers, and of course the disposal in the landfill. One calculation of the global warming potential for paper towel (the amount of greenhouse gasses that are emitted by the cradle to grave production and consumption of a product interpreted as mass of carbon dioxide) was about 0.06 lbs or 27 grams of carbon dioxide for each towel produced and used. So, the mass of carbon dioxide produced outweighs the paper towel itself (roughly 2 grams per sheet) thirteen times over. If you use 5-10 pieces of paper towel in a day, after one year your paper towels would generate the equivalent of 109-219 lbs of carbon dioxide [1]. The use of paper towels is therefore contributing to climate change through greenhouse gas emissions and leads to unnecessary paper and plastic waste.
Paper towels are made in a similar way to other popular paper products like cardboard, writing paper, and tissues. Each of these products is molded from a pulp that contains a mixture of small pieces of wood and water. Producing these sources of materials requires trees, chemicals, fuel, water, and electricity - contributing to millions of metric tons of emissions annually. While manufacturing causes many issues like pollution and the reduction of natural resources like trees and water, the disposal of these towels is also an issue [2].
Although paper towels are compostable, they often end up in the landfill and will not be made into usable compost. In addition, excessive plastic packaging around a pack of paper towels also contributes to waste production at your local landfill.
Interested in finding an alternative to paper towels?
There are options other than traditional paper towels that will still help you wipe, dry, and clean with fewer negative impacts on the environment! Plus, they will even help save on costs. The average family uses two rolls of paper towel every week. At roughly $3.20 for 2 rolls [3] that equals out to $166 in paper towels yearly.
Some alternatives include cotton napkins, rags, sponges, etc. Switching to a reusable option will save you money in the long run and reduce your paper towel consumption/waste! Since these reusable options are small towels, they can sneak in with your regular laundry, too. One eco-suggestion would be to stick with natural fiber cloths (i.e. cotton based) since frequently machine washing fabrics made of synthetic materials can contribute to microplastic pollution in waterways.
Keep reading below to learn how to DIY our favourite paper towel alternative!
Our DIY ‘Unpaper Towel’ Tutorial
Sewing Machine Required

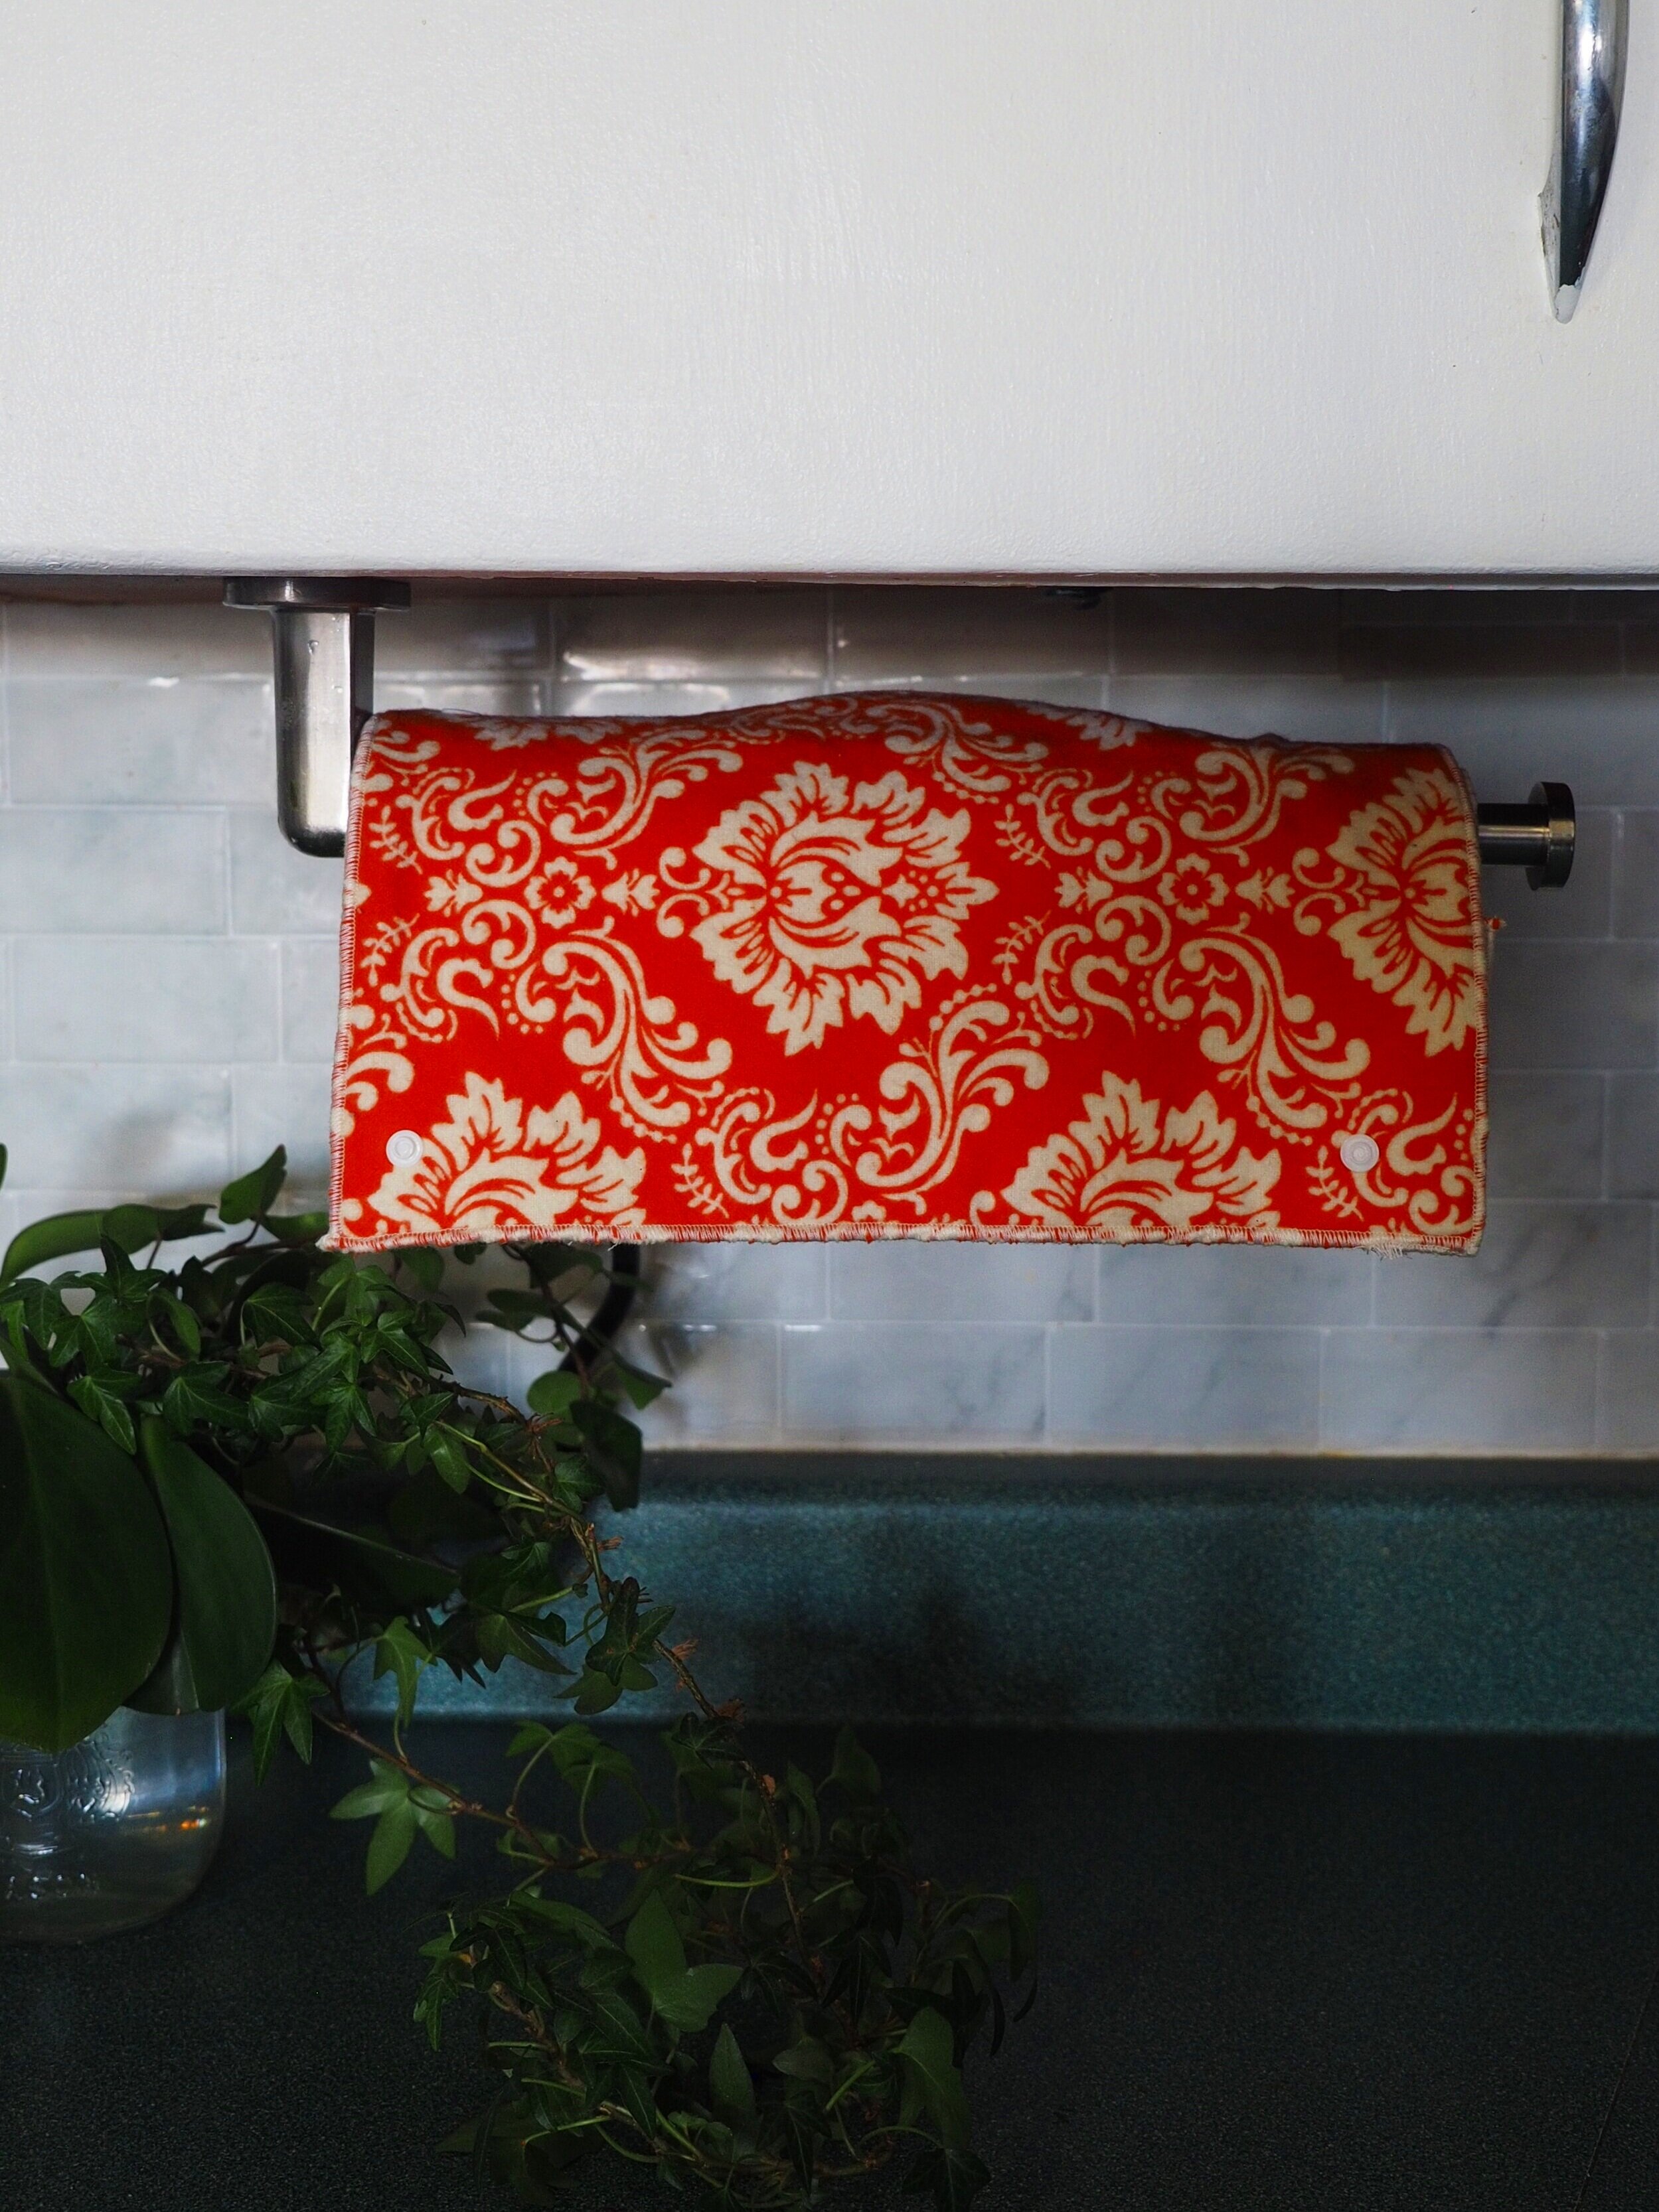
Unpaper Towels are reusable towels that attach together so you can still have them on a roll on your counter and keep them accessible. But when you are done, you wash and reuse them instead of throwing them away leading to less waste in your trash and you’ll save money buying fewer paper towels! These towels are a homemade, DIY option that are easy to make right at home with the proper equipment!
What you’ll need
Absorbent natural fiber fabric (i.e. flannel, terrycloth, muslin cloth) - 2 meters of flannel is $16, or even better, repurpose old flannel shirts/jammies for free
Sharp scissors
Sewing machine or serger
Thread
Ruler
Iron
Optional if adding snaps to towels:
An empty paper towel roll
Fusible interfacing (local fabric store) - 1 meter is $5
4 plastic snaps per towel (local fabric store) - 1 package is $13
Snap setting tool - $24
Altogether this will make about 30 single-ply towels or 15 two-ply towels. Without the snap option this will cost roughly $16 for fabric or FREE if repurposing old clothing!
Making these towels with the snaps will cost roughly $58 for fabric and snaps/snap setter tool.
These towels will last for years, so no matter what option you choose, you will be saving money and reducing your waste!
As an FYI when deciding between snaps or no snaps, with enough care the flannel towels without snaps can still be rolled up together and displayed like traditional paper towel since the towels stick together. You could also put them in a cute basket or drawer.

Step 1: Get your absorbent fabrics ready
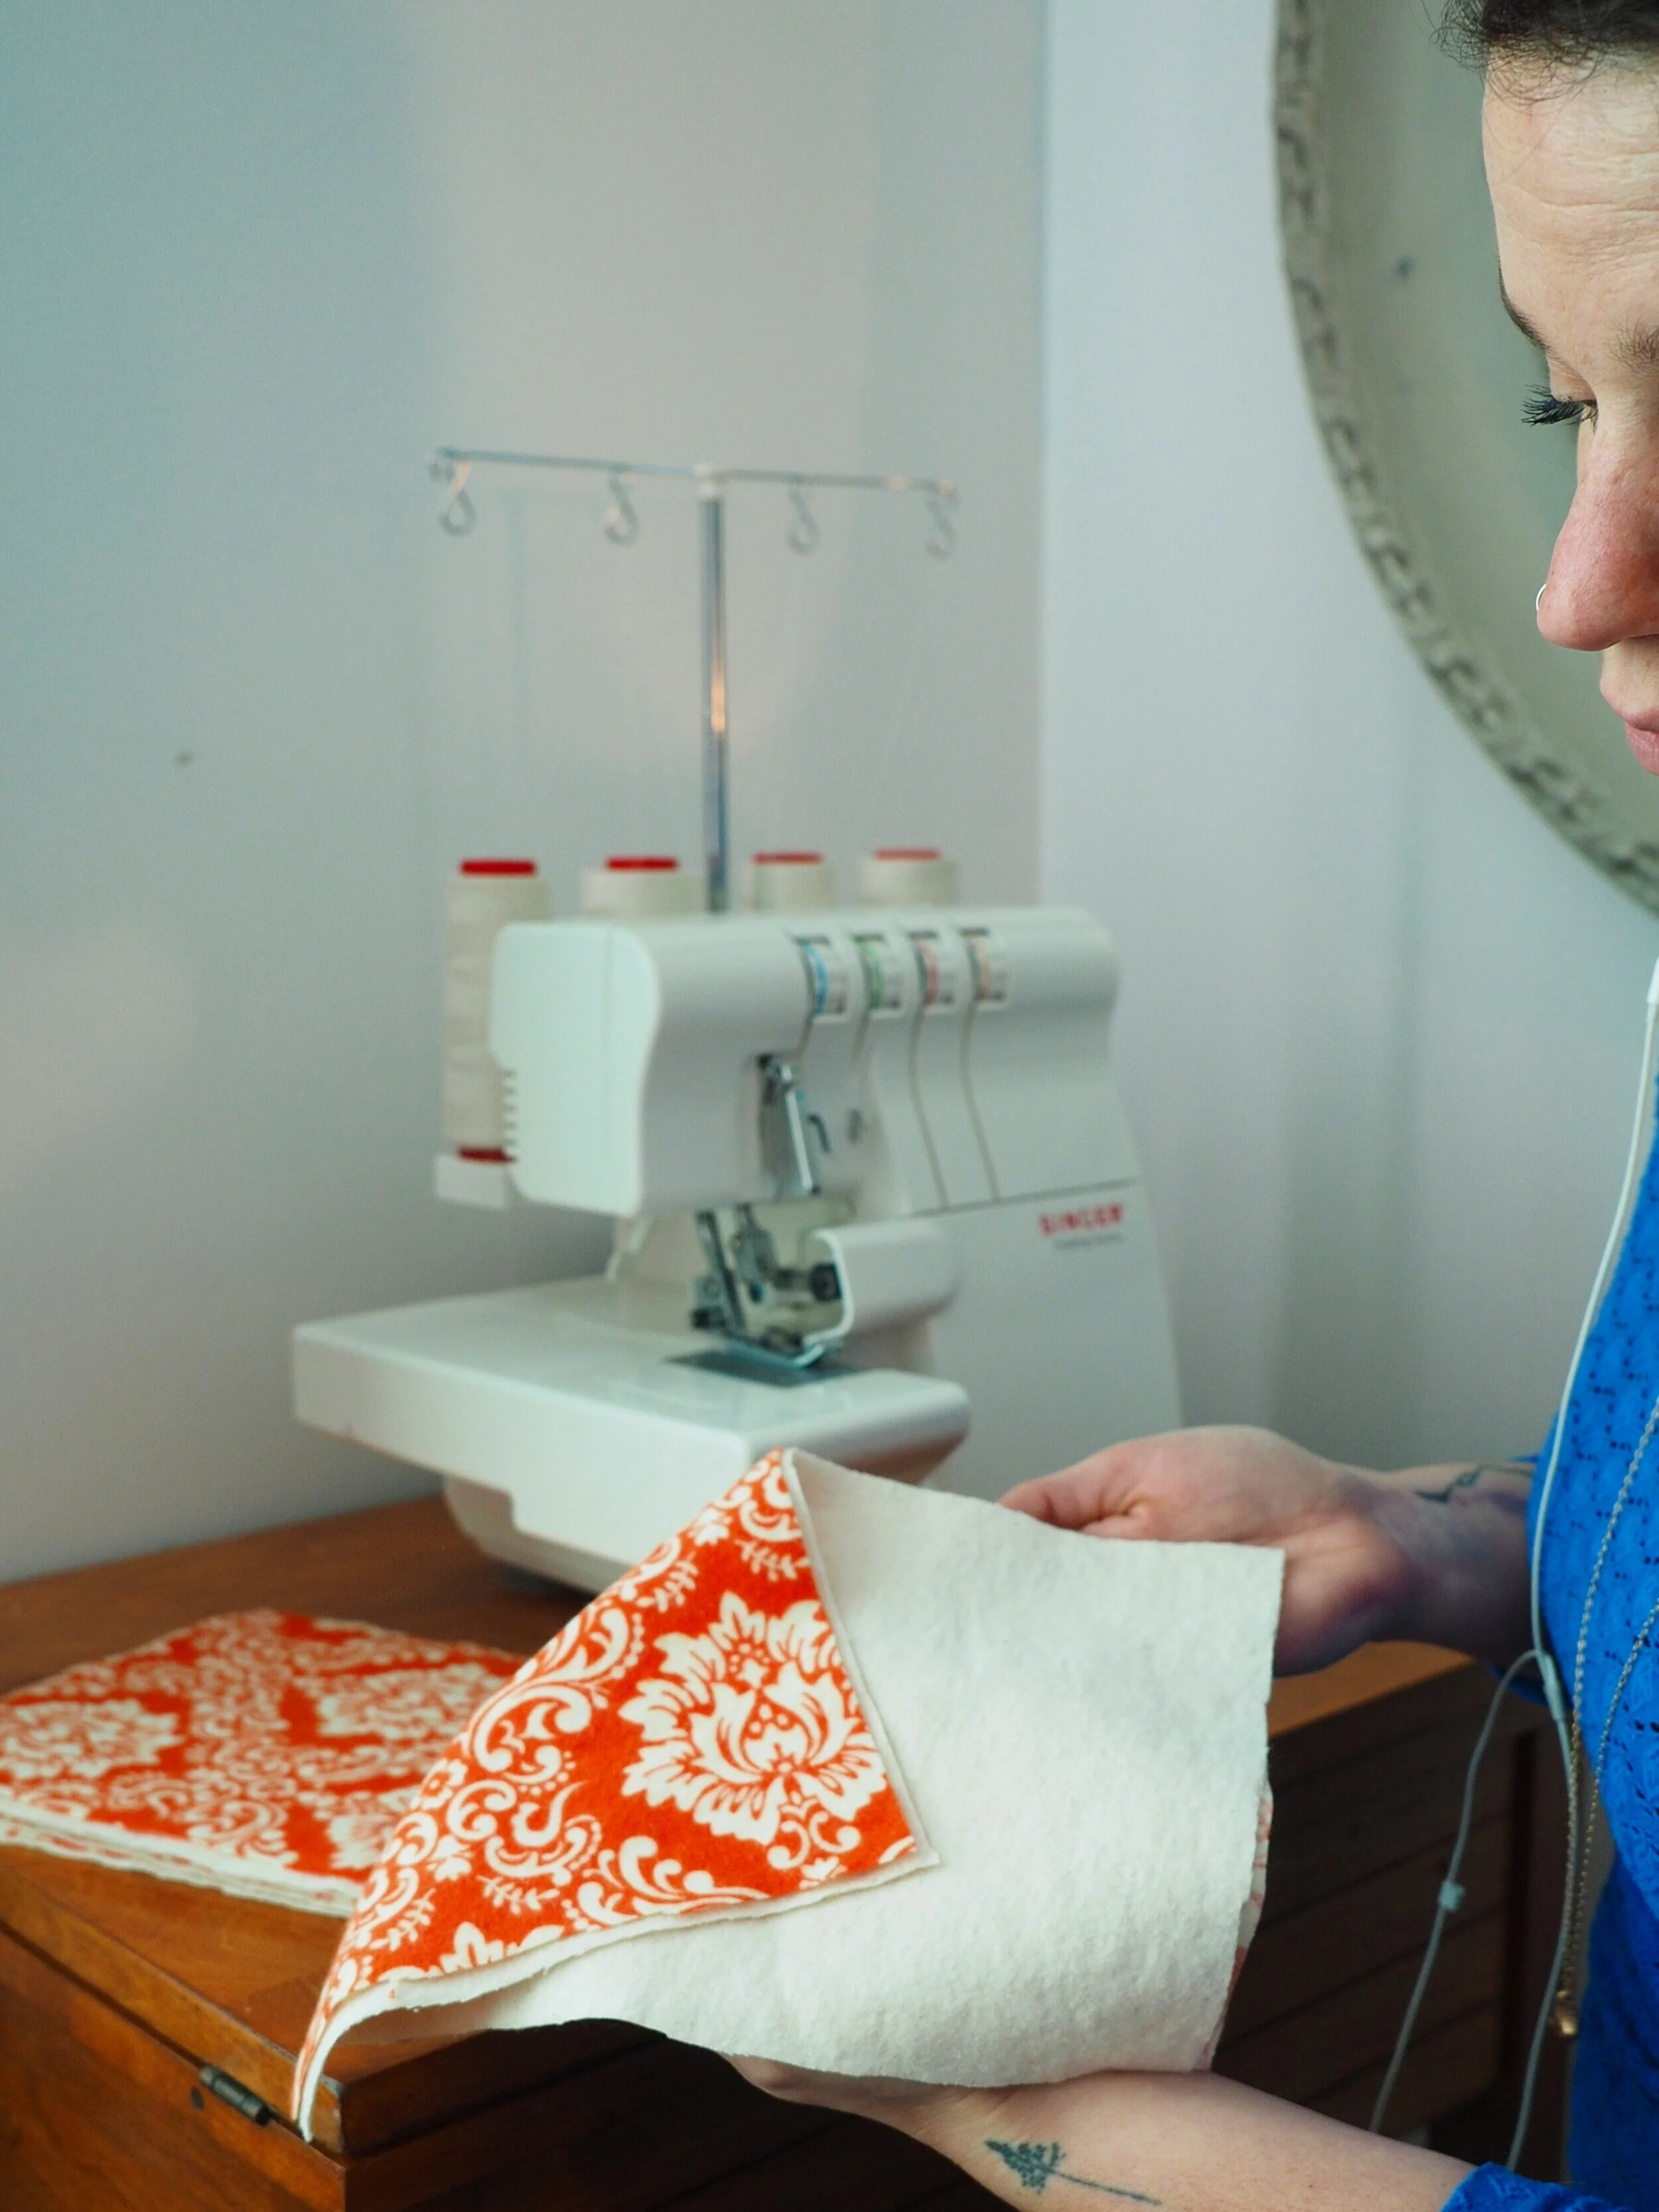
Here we purchased new flannel material, which is an absorbent cotton fabric. In this tutorial we will be creating two-ply towels from this fabric but you can also use something like terry cloth or muslin fabric on one side of the towels to mix things up, or, as mentioned above repurpose flannel shirts/jammies to use!

Step 2: Wash and dry any brand new fabrics
No need for soap! Washing brand new fabric in warm water will pre-shrink them, which is important to do before stitching them together.

Step 3: Iron fabric
Take a few minutes to iron your fabrics before you begin sewing. This will make the stitching process run smoothly.

Step 4: Cut your fabric
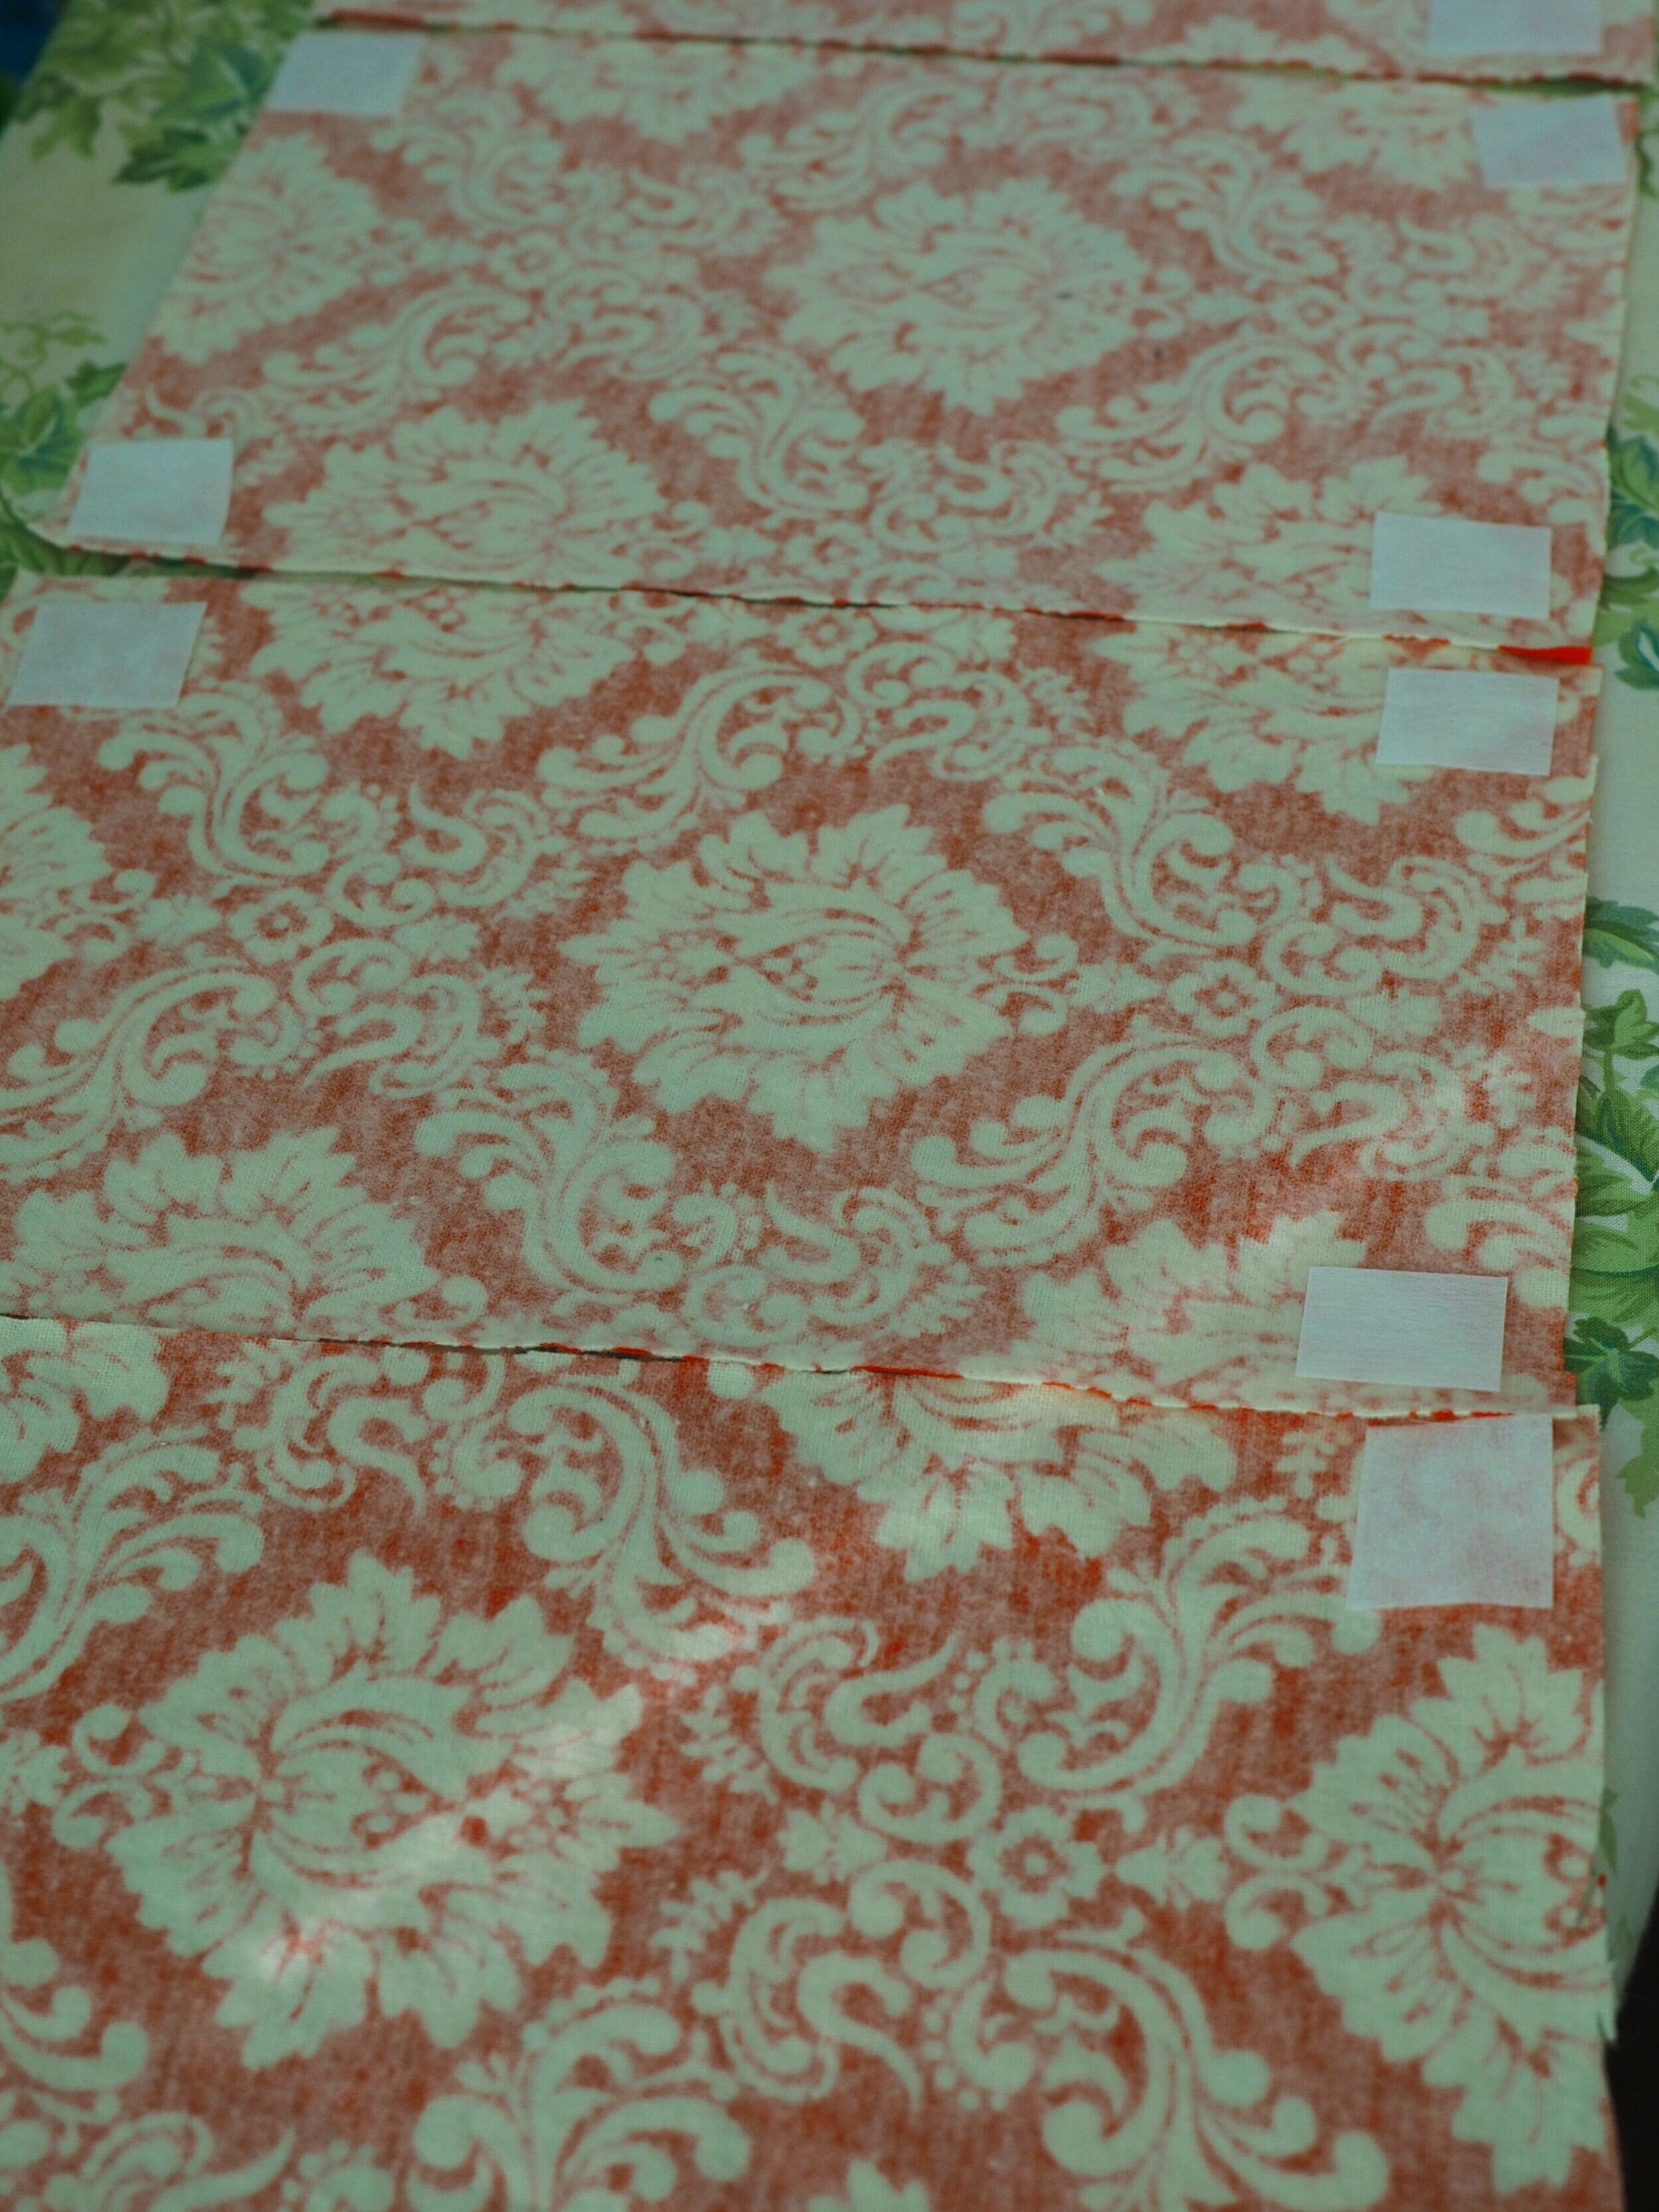
Cut your fabric into the size you want your towels to be. Our fabric was cut to 11” x 7” because a paper towel roll is 11” long, but really you can make your towels whatever size you like!
Step 5: Add interfacing to corners (for two-ply snap option)
This step is helpful if you will be adding snaps to your unpaper towels. Add small pieces of fusible interfacing to each corner on the WRONG side of the fabric only where the snaps will connect. You just need to do this to one “ply”. This is a material that will help stabilize the fabric, adding support for holding the snaps securely in place.
Skip this step if you’re just making single-ply towels or if you’re not using snaps.
Step 6: Assemble and start stitching!
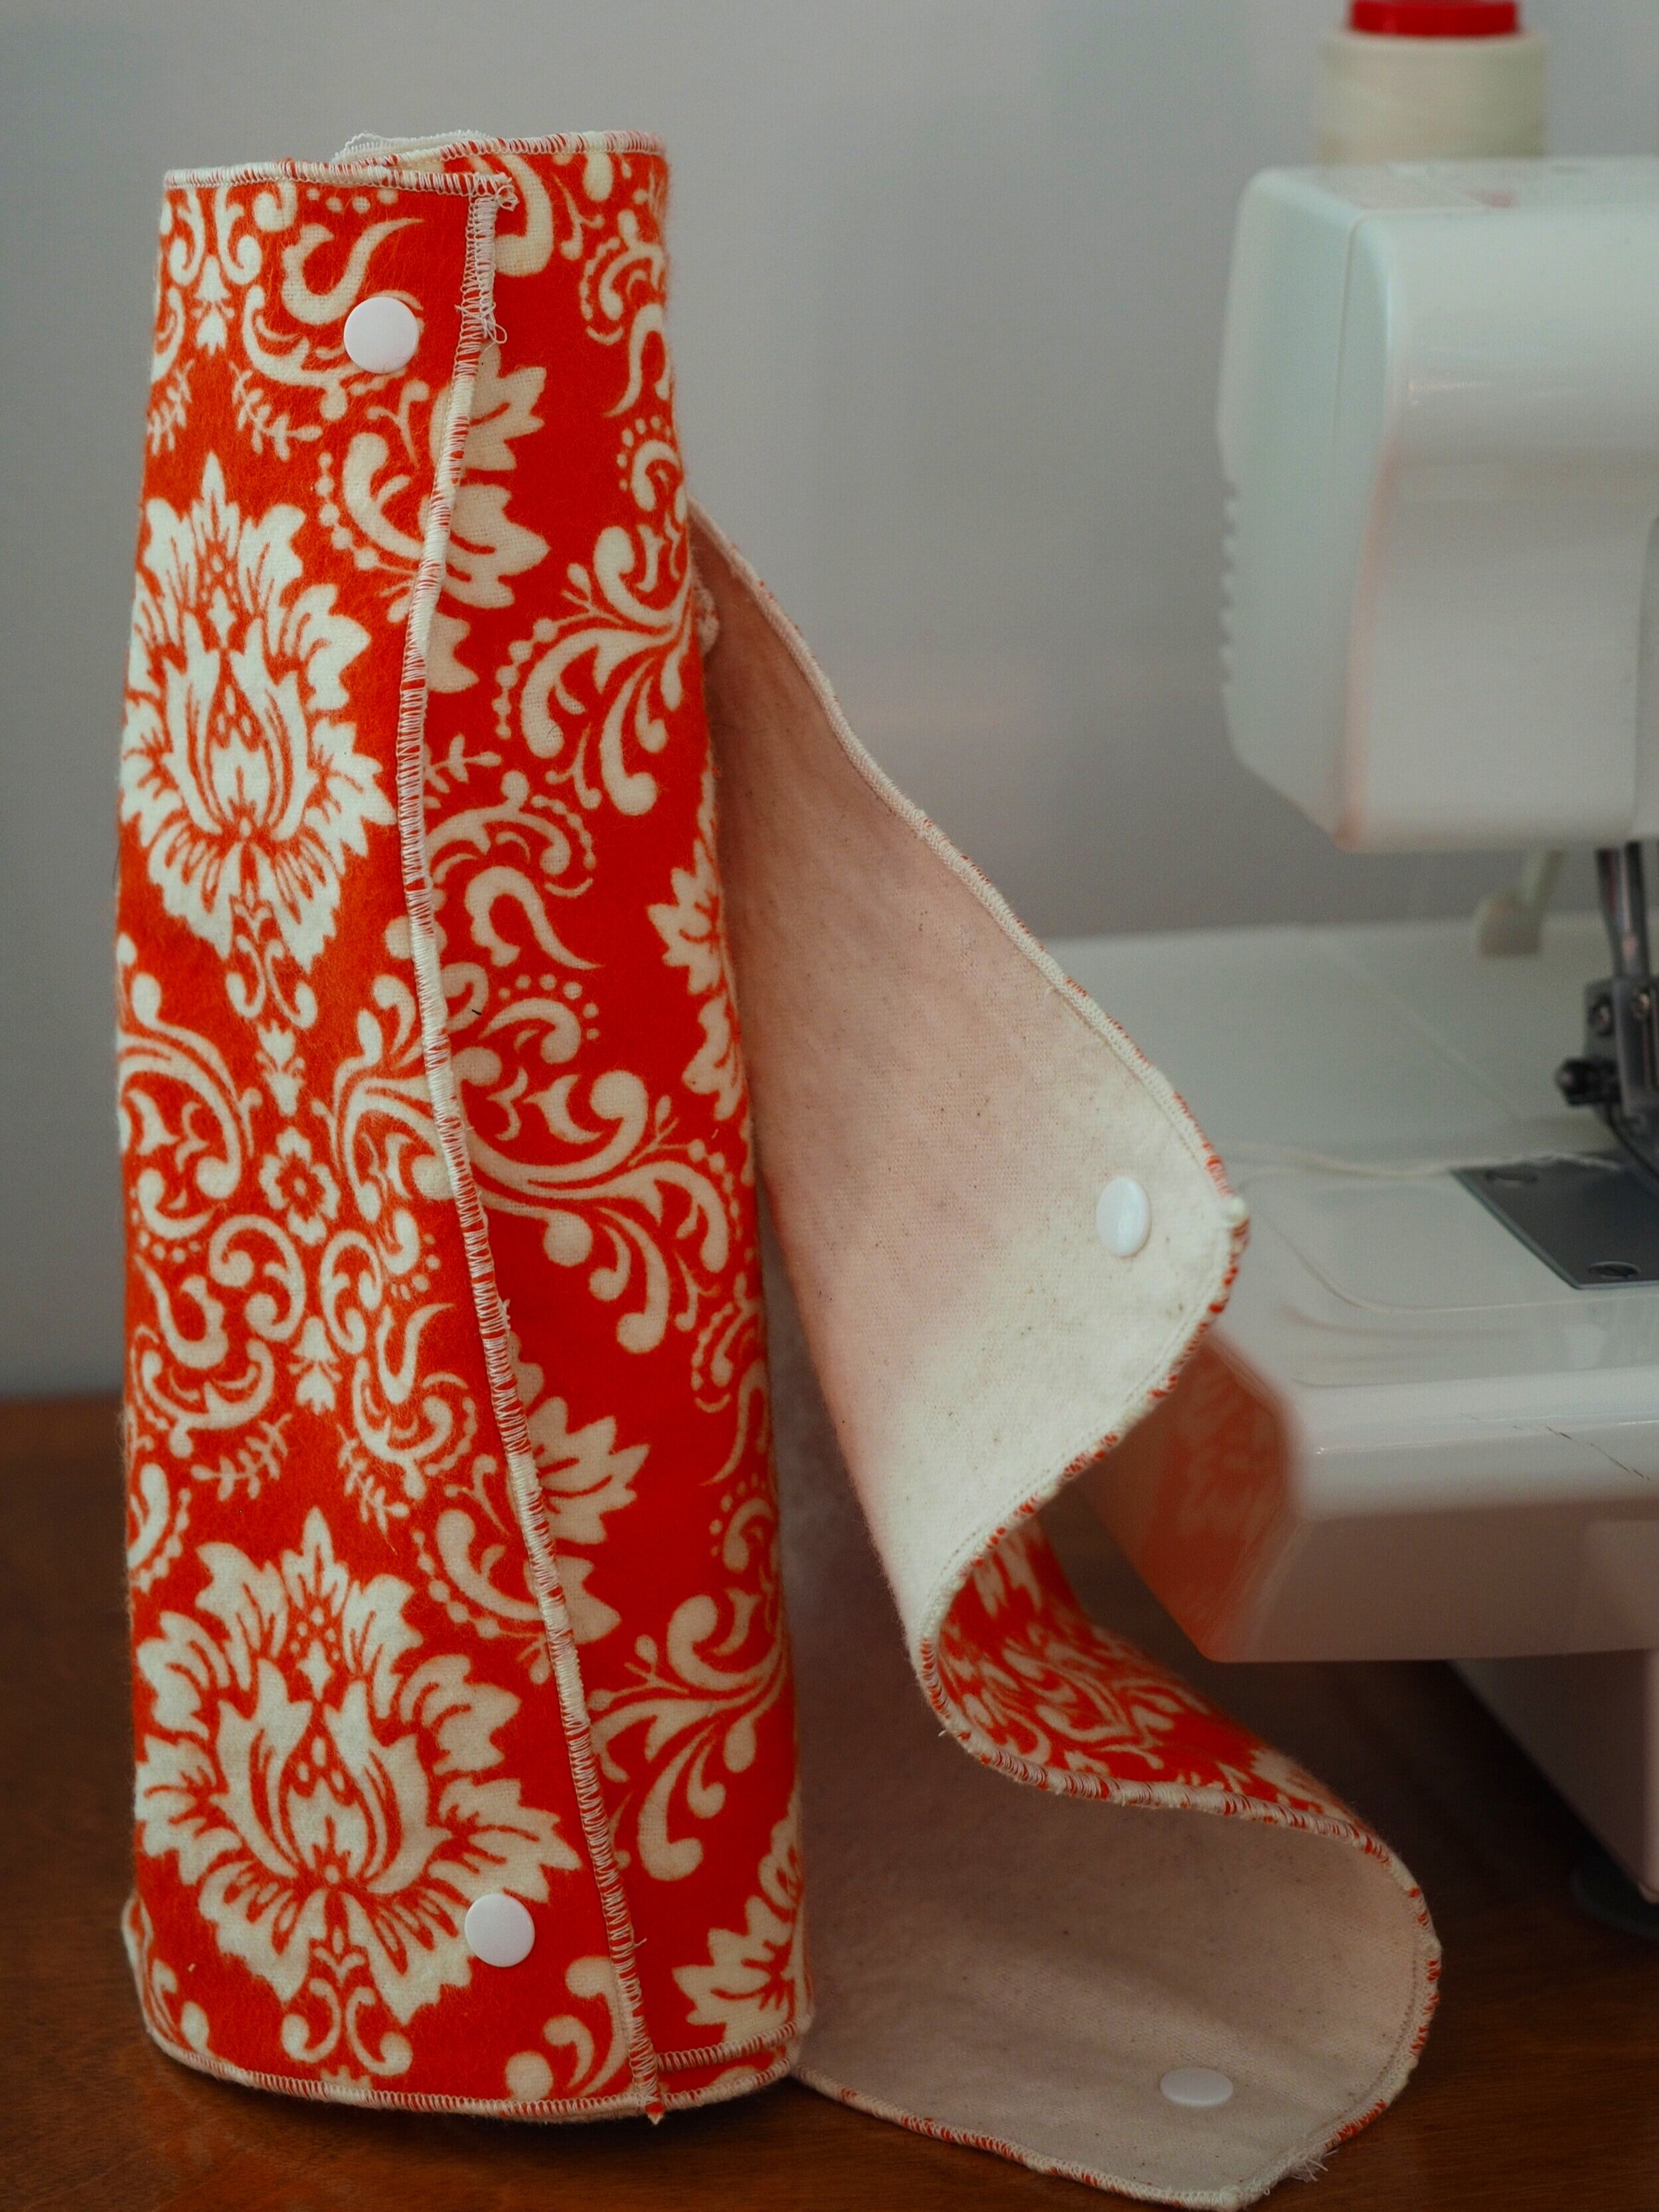
If you’re making two-ply towels, as shown in these photos, put the fabrics together with the right sides out so that the interfacing is sandwiched between the two pieces of flannel. You can then stitch all four seams of each sheet.
If making single-ply, go straight to stitching the four sides! These towels were made with a serger using a rolled hem. Any stitch meant for finishing seams would work, such as an overlock or a zig-zag stitch.

Alternatively, to hide the seams you could stitch the pieces of fabric together with the wrong-sides facing out, leaving a 3” gap at the end, then flip the towels right-side out before finishing the stitches. This way seemed more complicated to us and we don’t mind seeing the seams on the exterior.
If you are making single-ply towels without snaps you’re already done!! Lay them all out flat, overlapping each towel onto the previous piece, then roll them onto a repurposed paper towel roll. Or just stack those babies in a cute wicker basket and get ready to wipe up messes while reducing both your consumption and waste!

Step 7: Installing the snaps (only for snap option)
Mark the corners of each towel where the snaps will connect. These snaps were placed roughly 9” apart near each corner. We used plastic snaps so that they won’t scratch any surfaces while cleaning. The applicator used here is a Dritz Plastic Snap Plier Kit from our local fabric store.

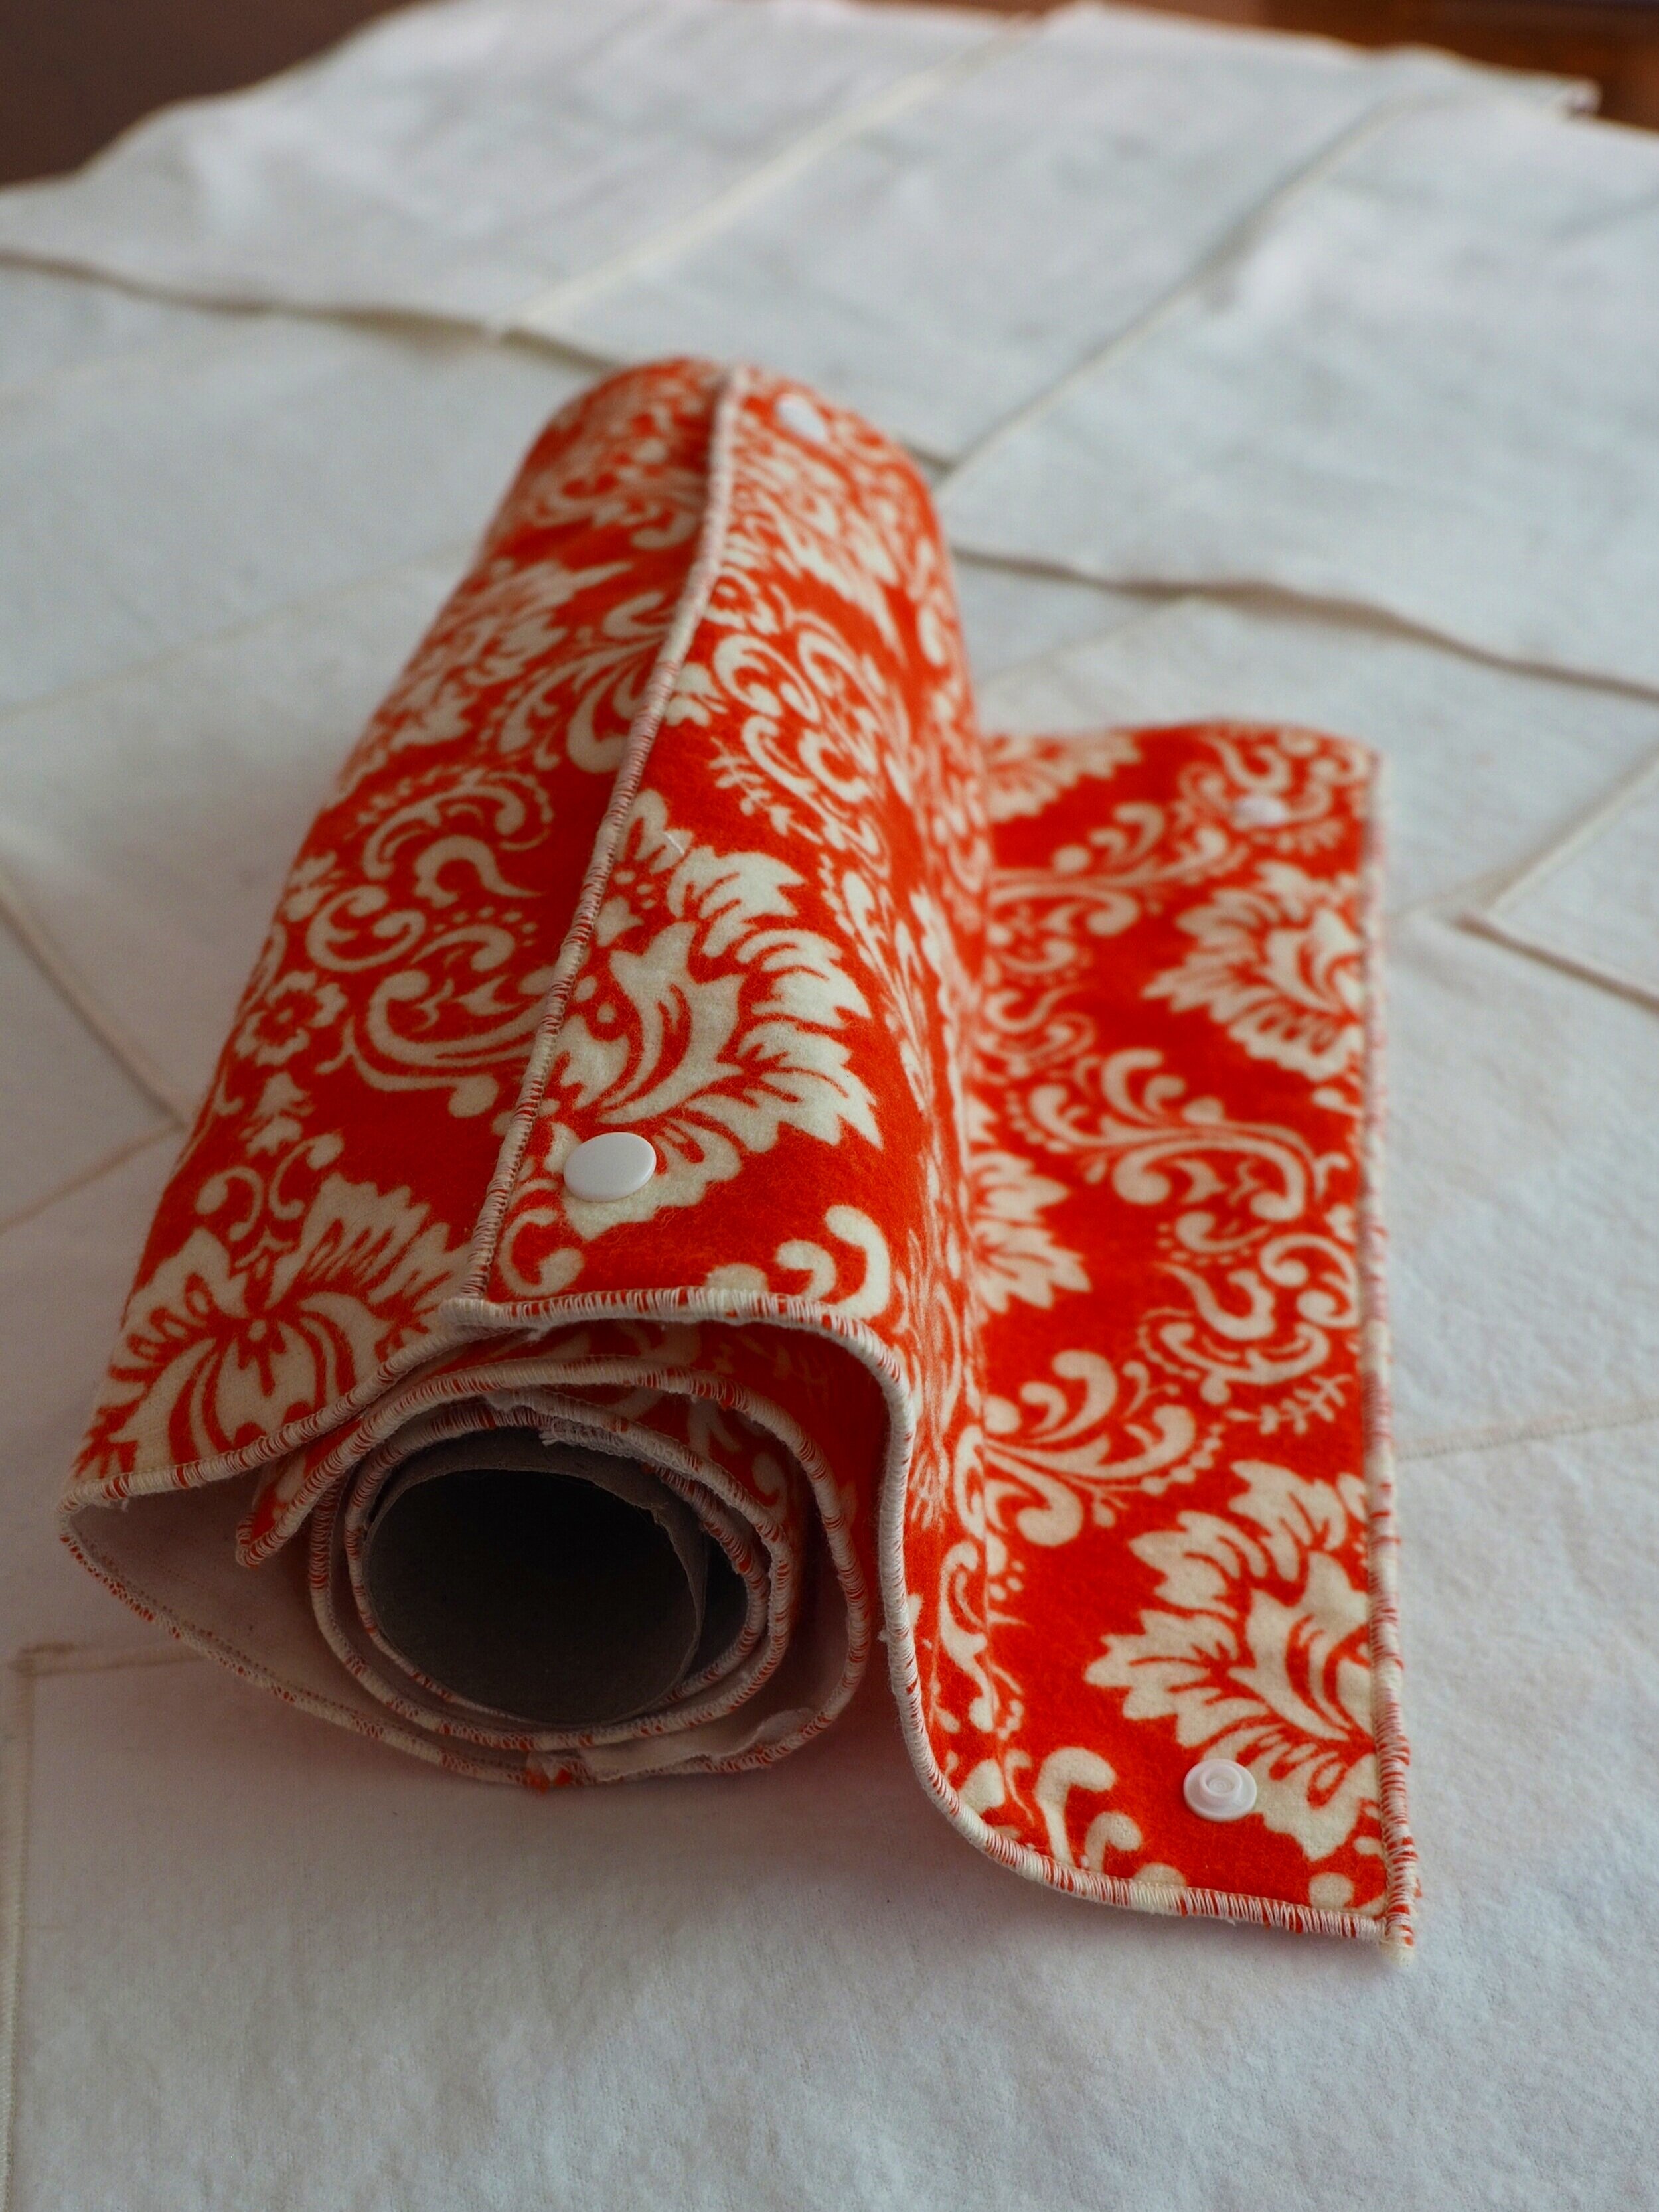
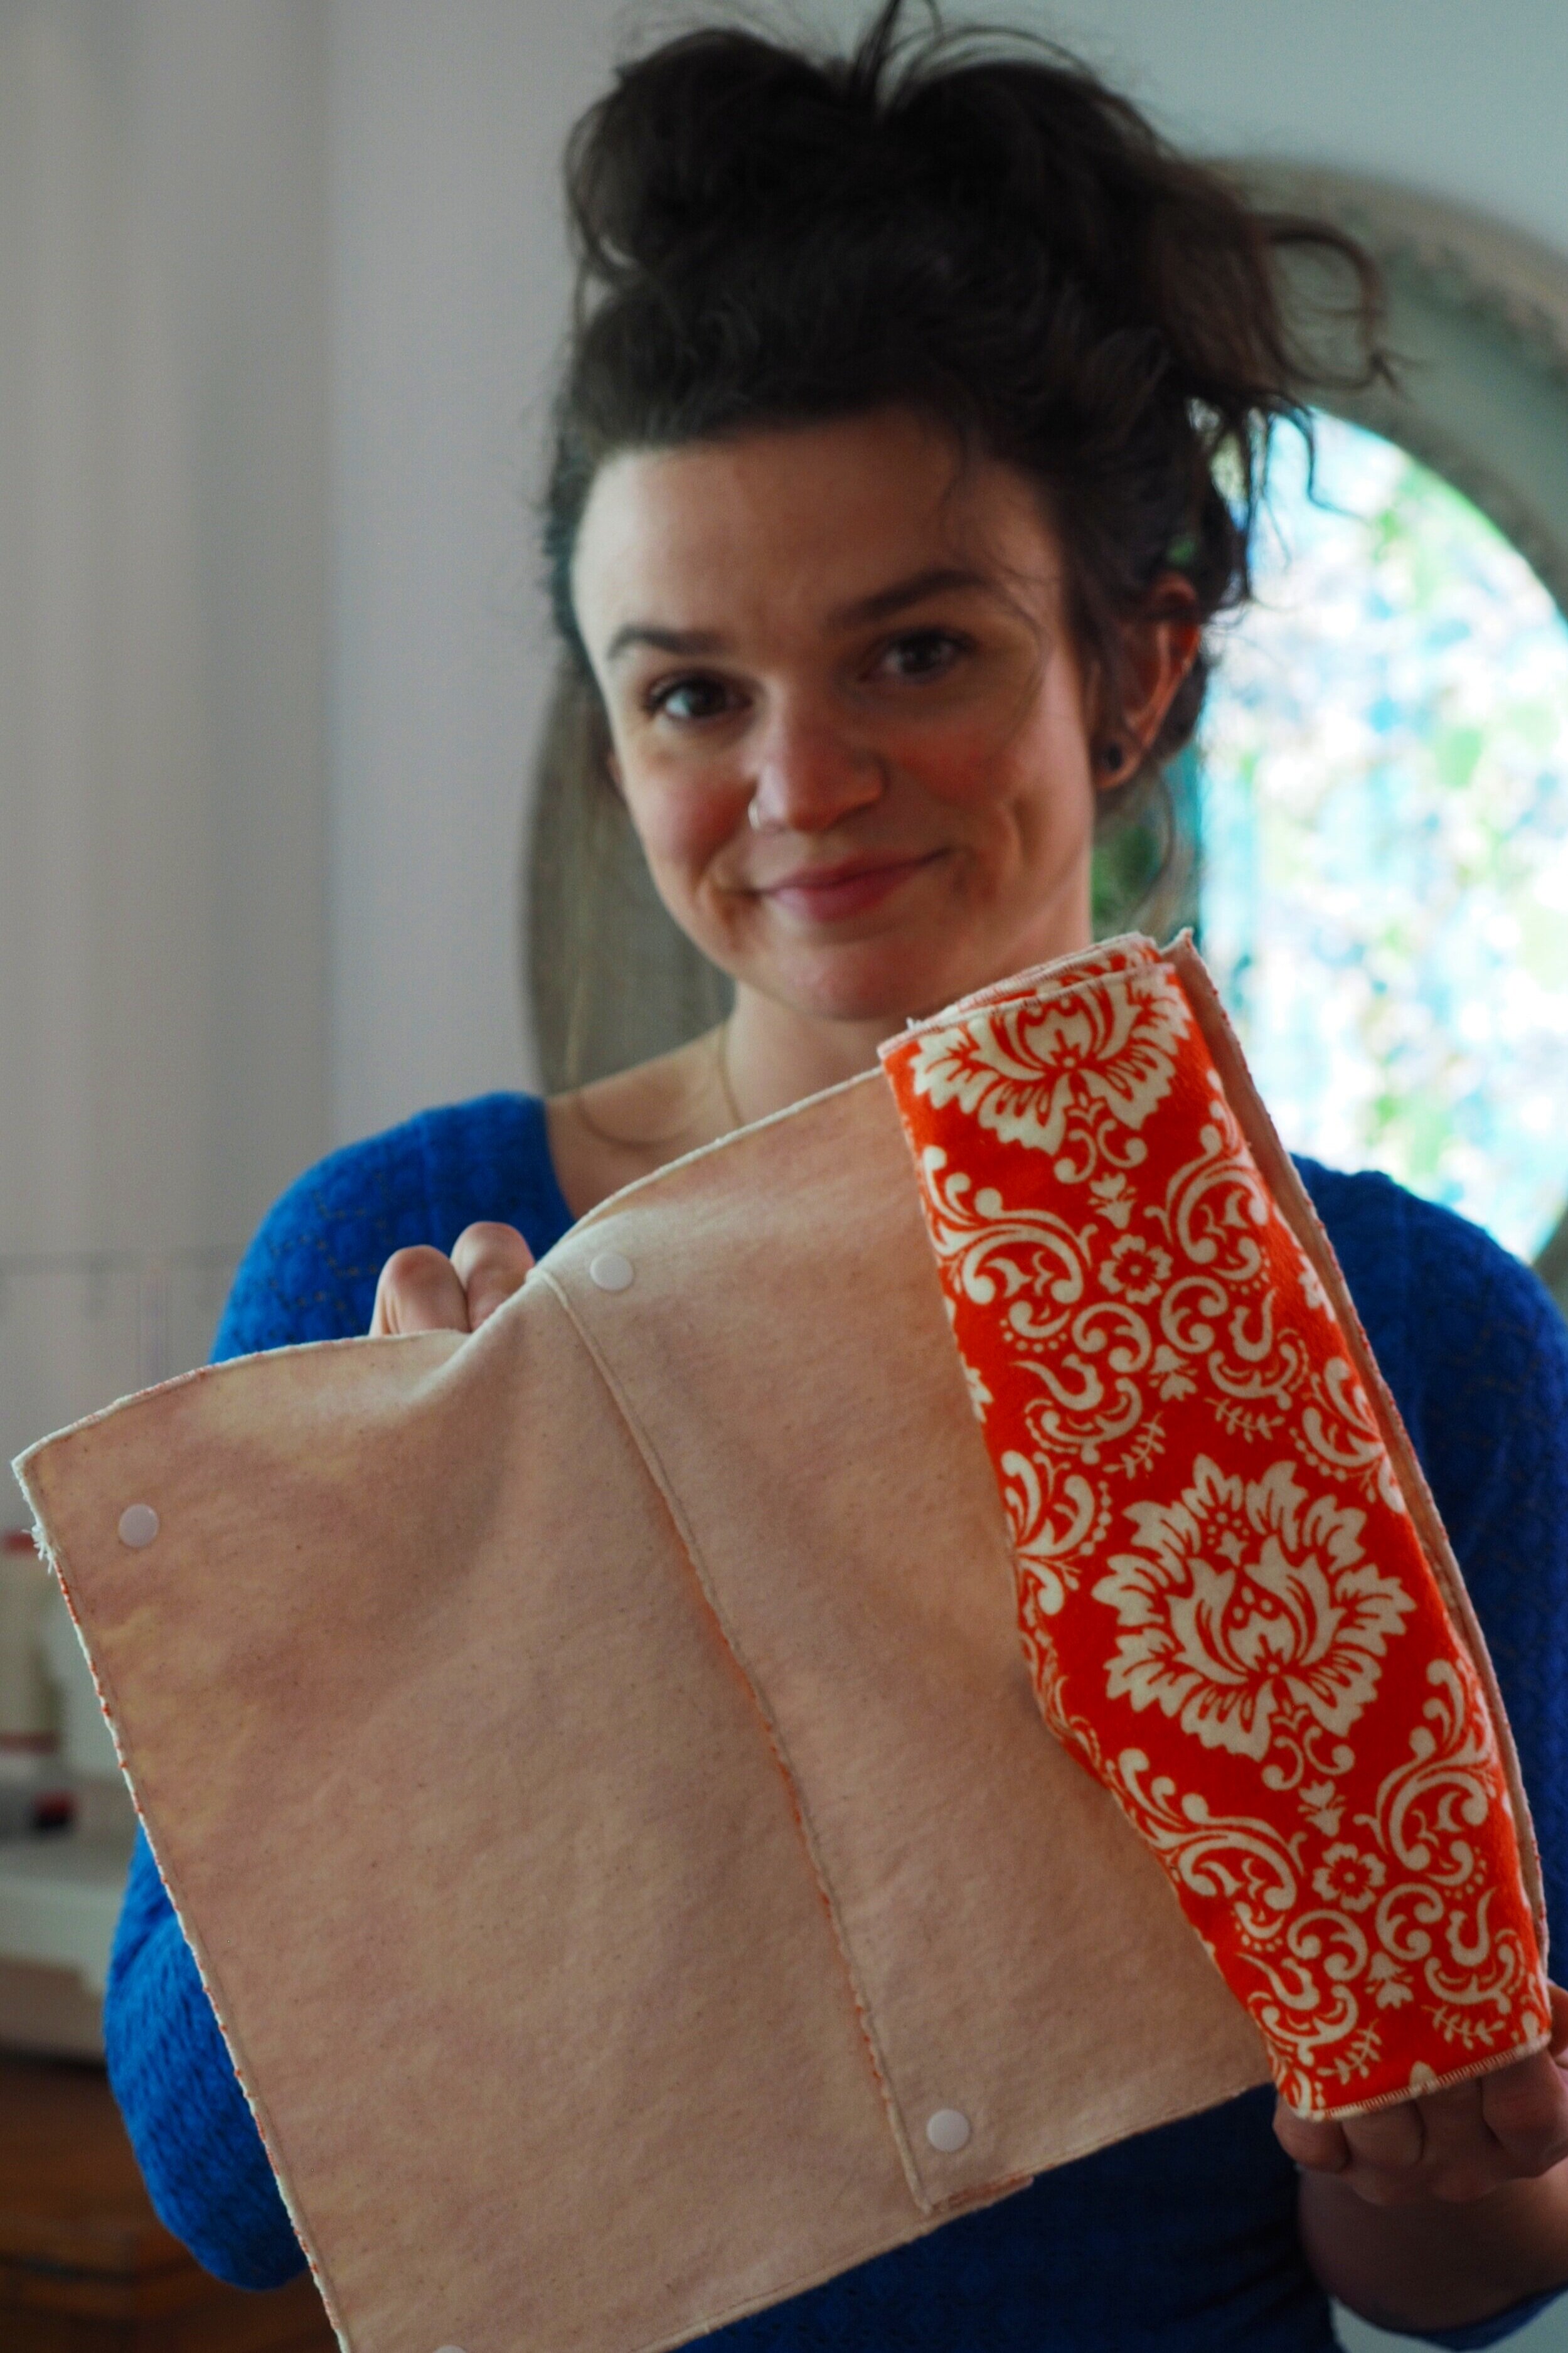
When installing these snaps we made sure the two sockets or female components of were consistently pointing down through each towel on one long edge, while the two studs or male components were installed pointing up through the fabric on the opposite long edge. This way the towels always connect to the previous piece in the same way.

Step 8: Add snaps to an empty paper towel roll (only for snap option)
Here we installed two studs or male snap components pointing up through an empty paper towel roll 9” apart where the snap socket on the first towel will connect. This way when the towels connect to the roll the decorative side will be facing outward.
Step 9: Roll it up!
Looky here wiper-snappers, you’re almost done! Snap everything together and roll them up to finish your project.
Voila! These towels will last you for years, reduce your consumption, waste, and save you some dollars in the process. They also make great gifts for that zero-waste fan in your life.